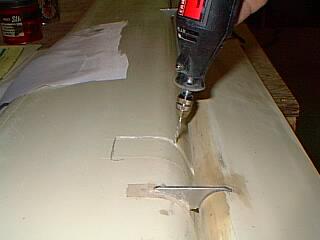
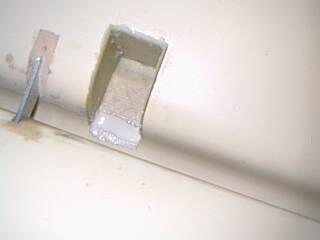
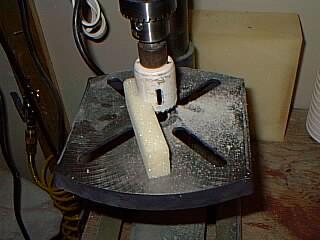
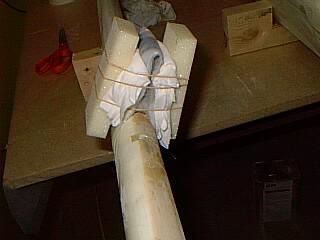
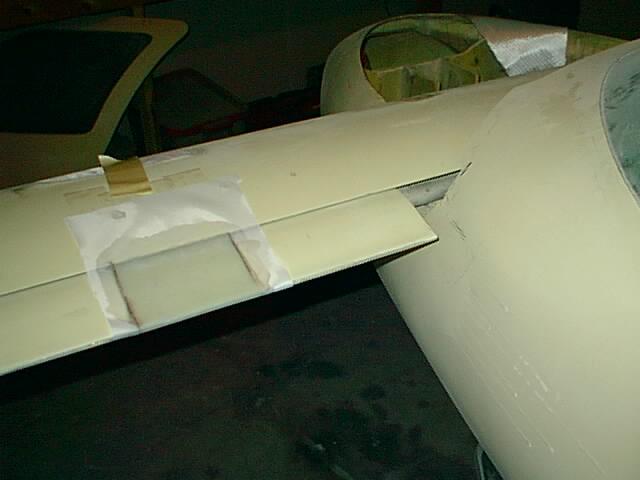
Here is one way to get a round shape in foam for the balance weight filler. The
weight / balance in place ready for initial floxing / glassing so it will hold
in place for complete glassing. The hot glue did not want to hold the lead to
the jig so a plastic strap did the trick.
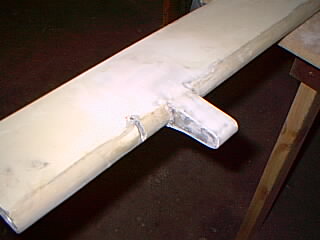
Actually it turned out well that I left the elevators initially in place, since that way the outboard weight position fitting/floxing/partial-glassing can be more exact.

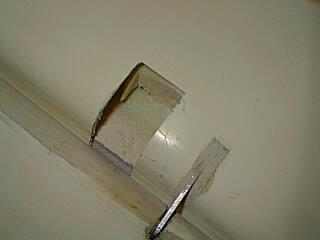
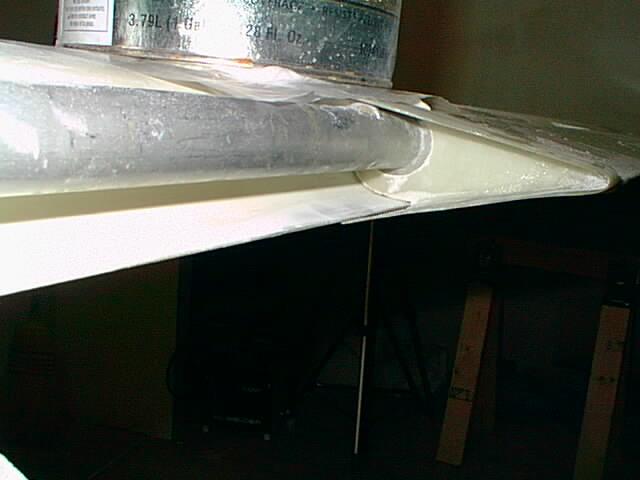
The 1543 E glass is extremely stiff and uncooperative - will not stay
bent around curves. Had to find another way to hold it to surface. Hope it works.
And sucess......
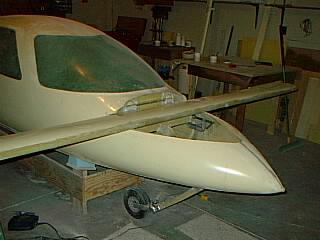 Positioning, lining up the canard into place.
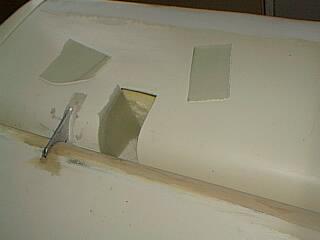
 After lining up the canard as best as possible, I did not want to disturb it by removing
with lift tabs temporarily in place and after removal not exactly lined up with bulkhead
FS-43. So first I applied the magic release tape (plastic packing tape) to FS-43. then on my
work table I laid 4 plies of S2 glass on top of peel ply and then the lift
tabs on top of that and then placed the combination on FS-43 in place and let cure.
Some flox was added in front corner and peel plied. An aluminum angle bar with a center screw
is securing the tabs in place while curing. The front of tabs will be glassed afterward in place and then
holes will be drilled without prior removal of anything.
After lining up the canard as best as possible, I did not want to disturb it by removing
with lift tabs temporarily in place and after removal not exactly lined up with bulkhead
FS-43. So first I applied the magic release tape (plastic packing tape) to FS-43. then on my
work table I laid 4 plies of S2 glass on top of peel ply and then the lift
tabs on top of that and then placed the combination on FS-43 in place and let cure.
Some flox was added in front corner and peel plied. An aluminum angle bar with a center screw
is securing the tabs in place while curing. The front of tabs will be glassed afterward in place and then
holes will be drilled without prior removal of anything.
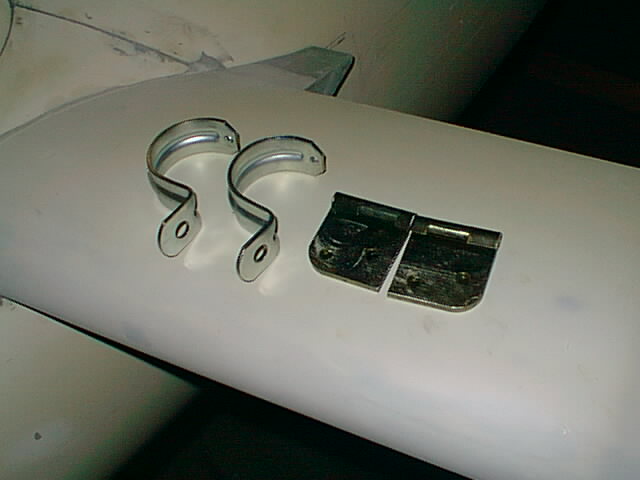
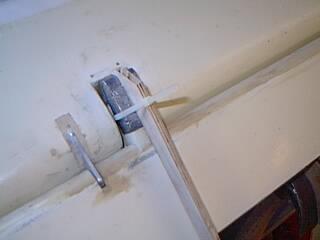
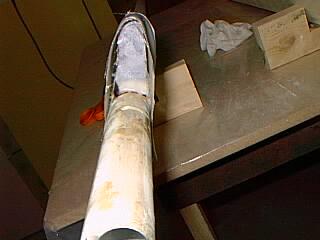
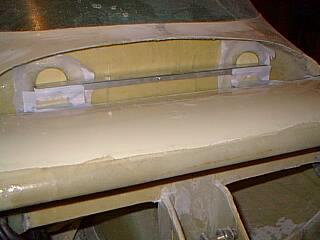
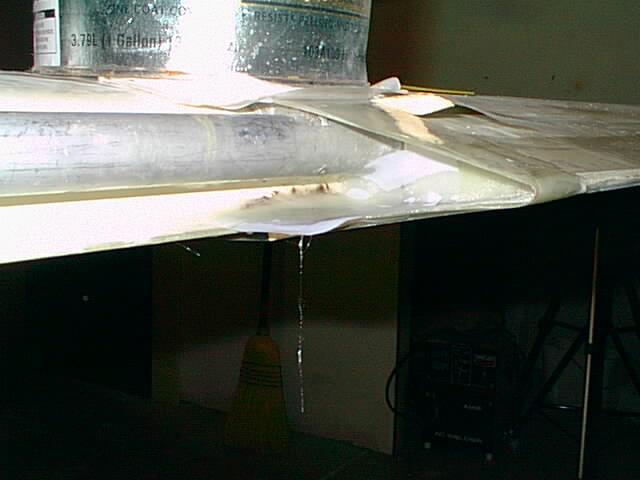
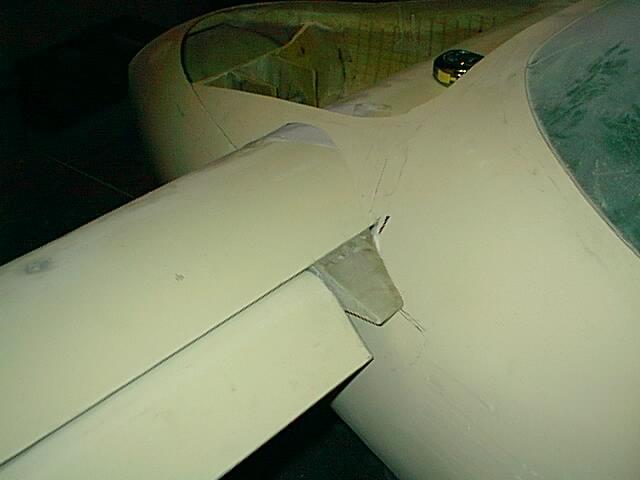
 Have been wondering how to seal out the weather around the canard torque tube AND cover
up the gap as shown. Decided to make a canard shape for the gap and at same time
attempt to seal out the weather. I laid out two glass of plies over canard as shown\
after applying mold release (plastic packing tape). The result will be cut to fit
opening and glassed in.
Have been wondering how to seal out the weather around the canard torque tube AND cover
up the gap as shown. Decided to make a canard shape for the gap and at same time
attempt to seal out the weather. I laid out two glass of plies over canard as shown\
after applying mold release (plastic packing tape). The result will be cut to fit
opening and glassed in.


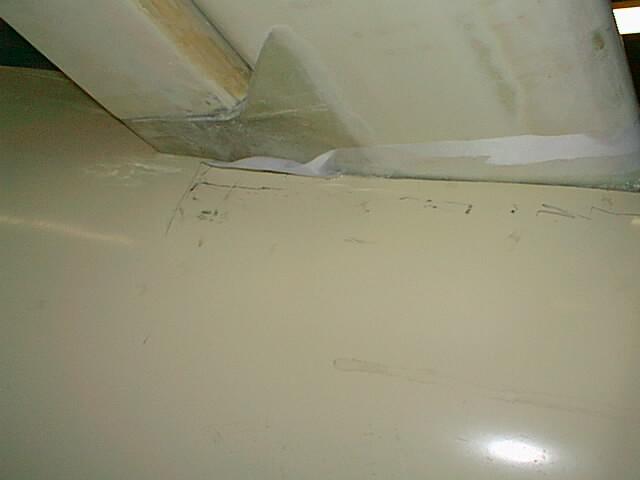
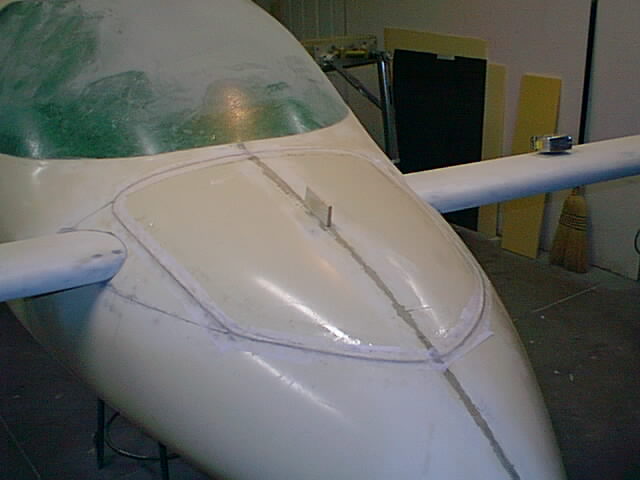
 After sanding and partially priming the canard, it is bolted into place and the
fuesalage pieces over the top of it is floxed/glassed into place.
After sanding and partially priming the canard, it is bolted into place and the
fuesalage pieces over the top of it is floxed/glassed into place.
 Puting the boot cover backstop over canard opening is one of the trickier jobs.
You are closing the thing so you have no direct access from the bottom to place
the glass strip for the backstop. After positioning with wood pieces and hot
glue (extra wood bits are for precision positioning), I glassed the inside
edge with the hatch open, leaving about .5" of wetted glass sticking up beyond edge.
Then applied PeelPly over it. Then I placed the lid on top of the wetted glass and crawled
inside the fuselage and with stiring sticks (two glued together) and wire from a coat
hanger with a plastic wrapped felt on end, I poked the wet glass onto the hatch edging
(remember to put release tape over the hatch edging beforehand). The crude coat hanger
and stiring stick devices are shown.
Puting the boot cover backstop over canard opening is one of the trickier jobs.
You are closing the thing so you have no direct access from the bottom to place
the glass strip for the backstop. After positioning with wood pieces and hot
glue (extra wood bits are for precision positioning), I glassed the inside
edge with the hatch open, leaving about .5" of wetted glass sticking up beyond edge.
Then applied PeelPly over it. Then I placed the lid on top of the wetted glass and crawled
inside the fuselage and with stiring sticks (two glued together) and wire from a coat
hanger with a plastic wrapped felt on end, I poked the wet glass onto the hatch edging
(remember to put release tape over the hatch edging beforehand). The crude coat hanger
and stiring stick devices are shown.One of those automotive tool mirrors on a stick helps to see around the canard.
 After curing the hatch cover was removed and the edges sanded with a taper toward
outside.
Then the edges were recovered with release tape and the space between
the hatch opening and the cover floxed. After curing that should leave a
precision fit with almost no space between hatch opening and the cover -
an aerodynamically smooth look and eliminates need for installing weatherstripping.
After curing the hatch cover was removed and the edges sanded with a taper toward
outside.
Then the edges were recovered with release tape and the space between
the hatch opening and the cover floxed. After curing that should leave a
precision fit with almost no space between hatch opening and the cover -
an aerodynamically smooth look and eliminates need for installing weatherstripping.